Lucy Boston

Showing posts with label knife-edge hot pad blocks. Show all posts

Saturday, July 4, 2015

parade, ice creams, and stitching

Happy Independence Day America!!

I didn't get out all of my patriotic decor this year, 
but I did pull out a couple of pillows and quilts to throw on the couch:
 The pillow that I made years ago from an old and faded, red woolen blanket.
This morning, Sweetie and I will head north a few miles 
to attend our local village's Americana celebration.

Sweetie always finds a place to park 
so that we HAVE to walk past one of the local churches' 
homemade ice cream fundraising-stand.
He eats his ice cream as we head to 'our corner' - 
the traditional place where we stand to visit with 
neighbors and extended family that are
gathered along the main streets of the village... 
awaiting the parade.
Our parade is usually about an hour-long...
with bands, bicyclists, 4-H clubs, youth groups,
multiple township's fire equipment, 
politicians, business floats,
horses, antique vehicles and antique tractors.
Rain or shine!,
a little piece of Americana in our little part of the country. 

Afterwards, we will (OF COURSE)
walk back past the homemade ice cream stand
for Sweetie's second serving before
heading home for our own picnic lunch.

This year, Sweetie has to go to work 
(his turn to cover an event from 2 to 11 p.m.)
and I'm planning (and so looking forward to) 
a nice, quiet day -
just sewing and stitching!! YAY!!!

One of the hand sewing projects I'm planning on attacking is this:
my Flags of the American Revolution quilt.
I made these quilt blocks in the Hot Pad or Pot Holder style (where each individual flag is a mini quilt), and I have them about half whip-stitched together.
Every time I have it laid out, 
I think it looks unfinished - like it still needs borders...

What do you think? 
Does it need borders added?  (I'd appreciate your input.)
Since each block is already individually quilted, 
they would have to be border 'blocks'
(which is doable and I already have the fabric). 


Anyway,
I hope your holiday weekend is safe, relaxing,
and wonderful!!
With homemade ice cream and/or stitching time!! :)

Thursday, March 5, 2015

Ready or not... FLAGS (UFQ)!!

Here it is!!!!
It's time to share the 
Flags of the American Revolution finish...
Keyword?  Finish. 
(insert my maniacal laughing here.)  
I admit, I'm not ready to share
because it's not a finish,
as I have an UFQ (UnFinished Quilt)!!
This sew-along was with Lori of Humble Quilts 
(click here to see others' great work)  
and it's always motivating to me 
to sew along with others doing the same project
(thank you, Lori).

My center medallion - all quilted!

Yet, whenever I sign up for a sew-along,
I always think to myself - 
"Sew-along?', 

OR, more realistically,
'start a quilt to add to the UNFINISHED quilt stack?' 
(: again - laughing hysterically here :)

My chosen method of doing this quilt
was to attack it in the Civil War finishing method 
of Hot Pad (or Pot Holder) blocks.
[The Hot Pad method (more pictures & info here) is where each block is completely finished individually, then whip-stitched together to create a quilt.  I used the knife-edged method for each flag, choosing a backing for each block - layering right-sides together with batting, sewing around the outside seam, leaving a turning hole, then turning, pressing, closing the opening and quilting.]
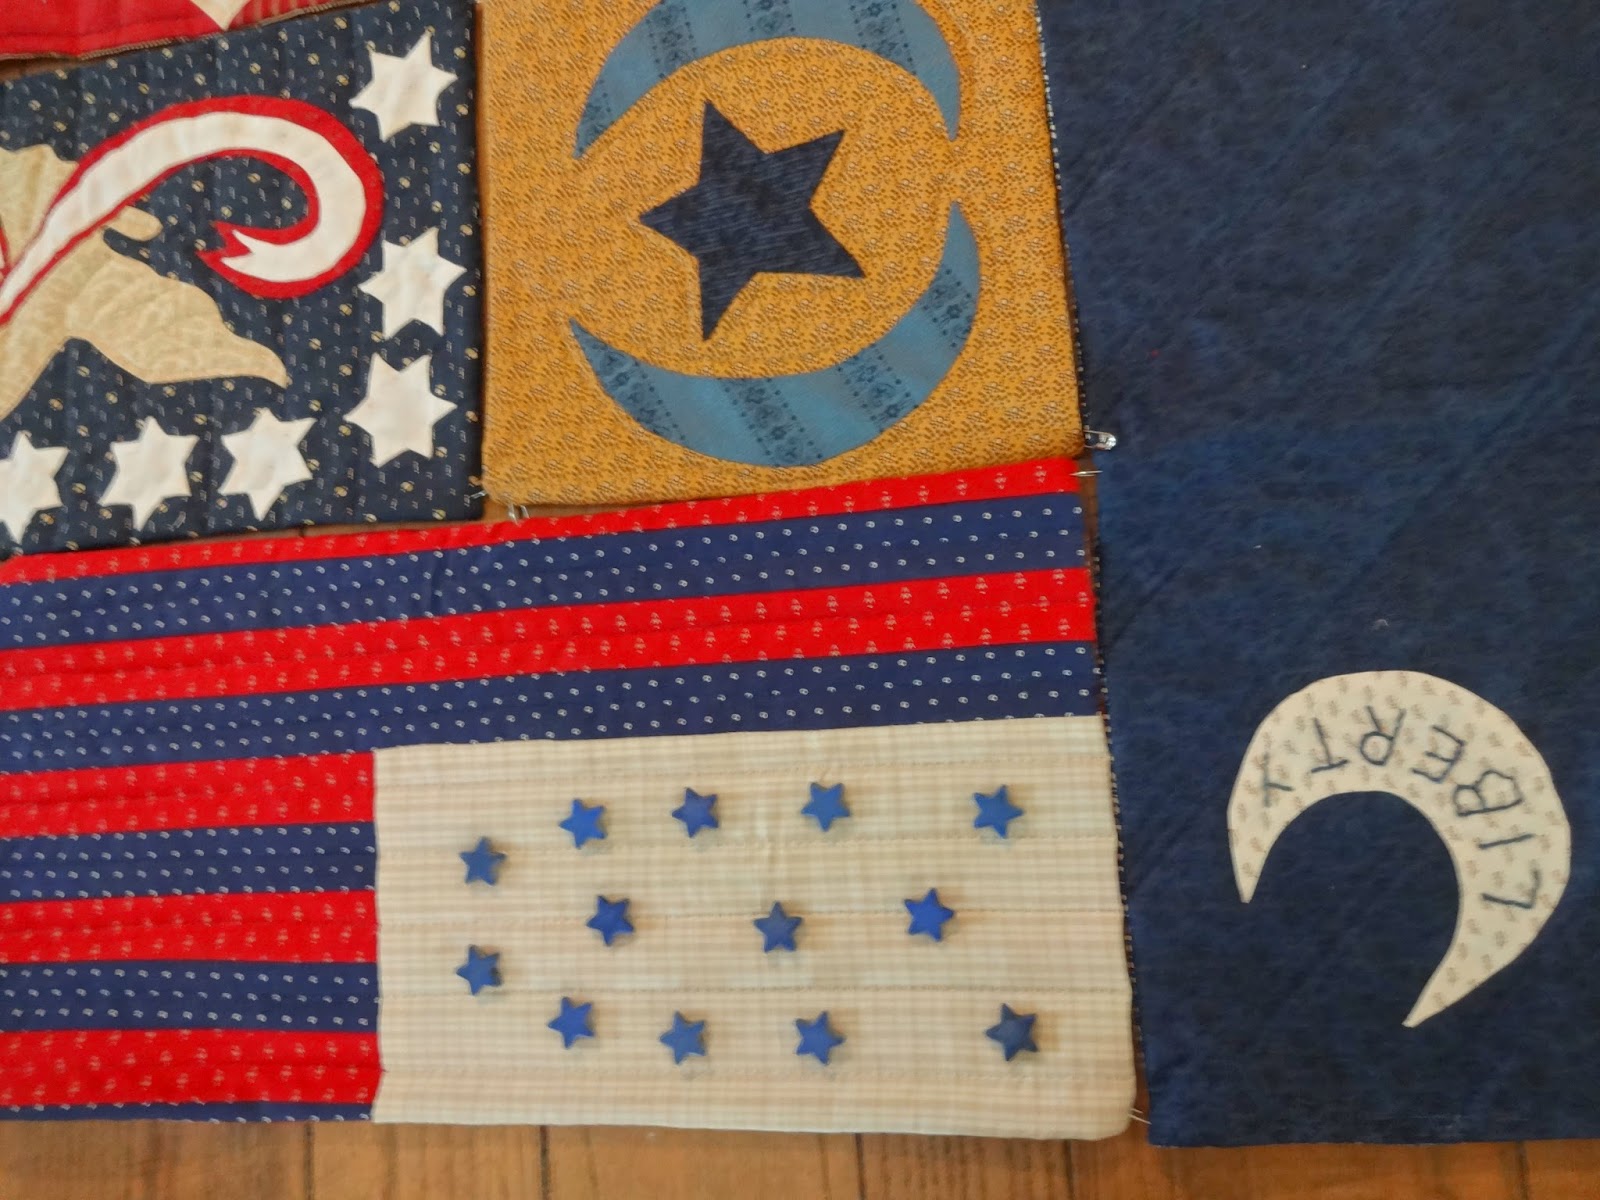
Flags of the American Revolution - blocks quilted and pinned together
Blocks pieced and appliqued?     Check.
Blocks quilted? 
Check.  Well, except for my signature block (bottom right corner, above).
Blocks pinned together, ready for whip-stitching?  
Again, check - except for the not yet quilted siggy block.
Do I love it??  
Check, Check, Check!!

I just need another month,
not another partially finished quilt!  lol 
But I suppose I am further ahead than some folks in this sew along, 
as I don't just have a quilt top,
but a bunch of quilted hot pad blocks.  
Any way you look at it, 
it's another UnFinished Quilt for the stack. lol

Here is the back of my quilt, showing the fabrics I chose for each block back:
Block backs, pinned together, awaiting whip-stitching.
And the eagle medallion with a corner of the block's back fabric showing:
A few more pictures:
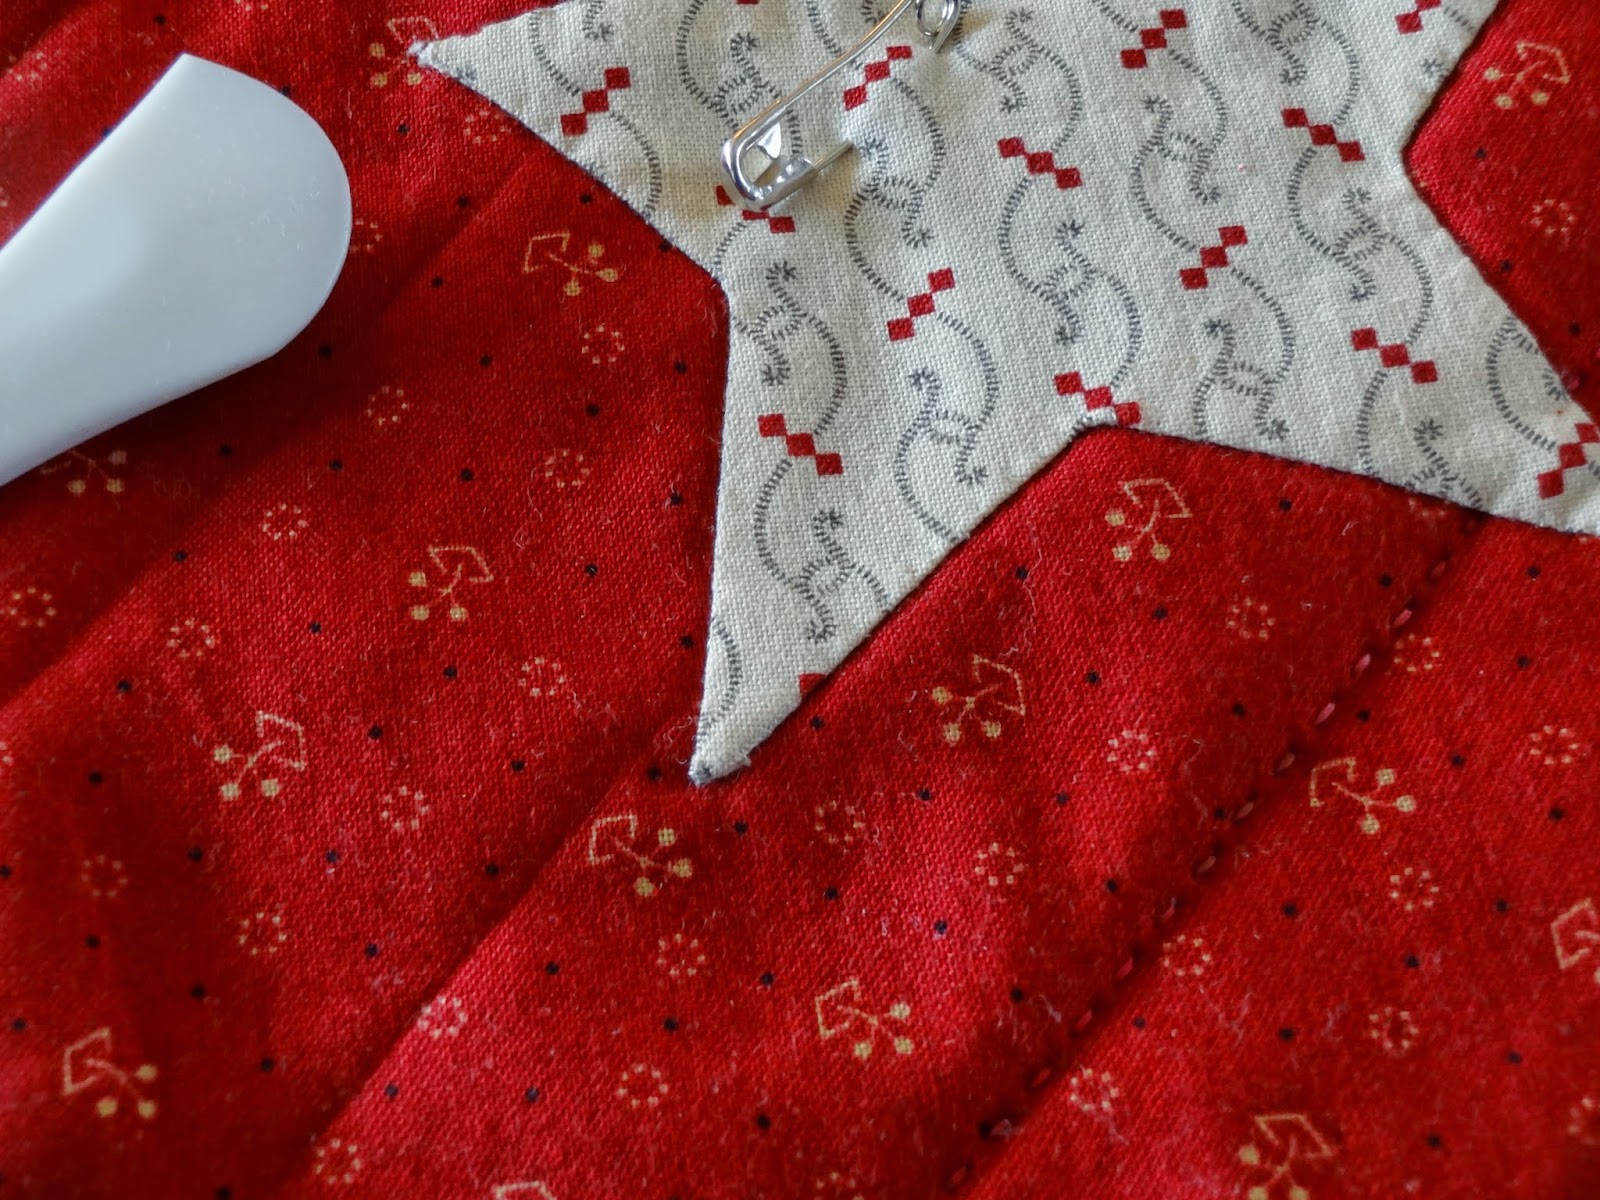
Marking quilting lines with my Hera marker.
Close-up of quilting- bottom, right corner; and marked lines- top, left corner.
Quilting on eagle medallion.
Quilted star and star buttons.
Another close-up of quilting.
I finally found blue star beads for this flag.
More quilting close-ups.
After I get all the blocks whip-stitched together, I think I will add a border and binding...give me another few months for that! :)

So, though it's not completely finished (and I have another UFQ), 
I do love it, and it was a fun to work along with others from around the world
doing the same quilt at the same time!

Please, if you have a few minutes, do go visit the others who did this quilt.  There is some great talent to see out in the quilting world.

Thanks for visiting, and if you have questions about my Hot Pad finishing method, please leave me a comment and I'll try to explain further.
Happy Stitching!

Monday, January 19, 2015

flags & a tutorial for Hot Pad blocks - knife-edged method

Flags of the American Revolution Sew-Along... 
This Sew-Along (with Lori of Humble Quilts)
is a pattern by Jan Patek,
and if you don't know, a Jan pattern is kind of primitive...
the seams don't have to match,
points can be cut off, and
fabrics can be mismatched, using whatever you have on hand. 
So if there's some applique that's not turned under smoothly
or a point is not pointy, it just adds to the primitive charm.
No worries. 

With that primitive charm look/style in mind,
I've started quilting my blocks individually,
deciding to use the 'primitive' Hot Pad method to finish this quilt.

In this instance, 
I'm using the knife-edged block, without individual block bindings:
Quilted block on the left, stack of blocks on the right still to do.
For those who asked me previously 
about the knife-edged Hot Pad method of finishing blocks,
here are pictures of my block progression:
#1 - Cut your batting the same size as your finished block.
#2 - Cut your backing fabric at least an inch larger than your finished block size.
 #3 - Layer backing right side up, 
centering the quilt block right side down, 
with batting squarely on top.
#4 - Pin well so the layers won't shift as you sew around your block, above... Note the double pins at the bottom, designating the no-sew area for turning the block through to right side out.
#5 - Stitch with your usual 1/4 inch seam allowance, leaving a generous opening to turn the completed block right side out.  (Don't allow your batting to stretch while stitching!!)
#6 - Above, trim corners of all layers after stitching.
#7 - Before turning the block right side out, 
check the raw edges around your block to make sure you've caught all layers.
 (You want to see your backing and the quilt block
  that are right sides together, with your batting on the top of that.)
#8 - Block is turned right side out, using the Hera Marker to push the block out to seams and corners out squarely.
#9 - This picture shows a block BACK.
Press the block well, then turn in seam allowances 
at the opening left from turning block right-side-out;
#10 Hand whip-stitch closed with matching thread (not shown).

#11 - Block has 'scored' indentations from 
Hera Marker for possible quilting lines, 
and then is pin-basted in preparation for quilting.
#12 - Block on the left is quilted.
The stack of blocks on the right are marked and ready to pin-baste for quilting.
At this point, all the completely finished blocks are ready to layout in their quilt position and to be whip-stitched together!
(The original quilt has borders and binding, and I think I will add those also, but will wait to see as it all comes together.)

Let me know if you have questions after reading this little tutorial.  It makes sense to me, but I/we already know that everyone processes info differently, so my way works for me but may not be easy for you to understand. :)

Back to some stitching for me.
Happy Stitching to you also!