My LB plan:
make ONE Lucy Boston block
each week of the year of 2013,
 |
MyLifeIsAStitch.blogspot.com
Lucy Boston, Patchwork of the Crosses |
using the English Paper Piecing method.
This had me finish the year with 52 blocks!!
I need a total of 56 blocks - 8 rows of 7 blocks each,
so the four remaining blocks are to be done as needed, by color.
 |
MyLifeIsAStitch.blogspot.com
Lucy Boston, Patchwork of the Crosses |
- One inch pre-cut Honeycomb and Square papers and the acrylic templates from paperpieces.com. These templates have a 3/8" seam allowance built in - the little extra makes it great for fussy-cutting, as you have a little 'slide' room if you miss-cut. Yes, you can cut all of your own papers, but I'd rather be stitching than cutting paper :)
 |
MyLifeIsAStitch.blogspot.com
Lucy Boston, Patchwork of the Crosses |
- small rotary cutter - 28 mm. This is easiest to use with the acrylic template so you don't over-cut into the next pattern repeat on your fabric
- pink turntable cutting mat - by busyfingerspatchwork.com (self-healing; also washable if you over-glue)
 |
MyLifeIsAStitch.blogspot.com
Lucy Boston, Patchwork of the Crosses |
- YLI quilting thread - 40/3ply - in ecru for my light muslin 'border' pieces, and in light brown for all the colored pieces -(a little heavier, but makes for a stronger seam, & it doesn't twist or knot easily)
- Straw needles - I like size 10 by Jeana Kimball/Foxglove Cottage
- I occasionally glue-basted for a quick layout, and for that I liked the Sewline glue stick. This particular glue goes on purple and dries clear. I put it through a battery of tests: iron heat, dryer heat, baking in the sunshine and oven, all of these both before and after water washing it, with no residue or adverse effects. (I did try two other popular brands of glue sticks - both of them went on lightly colored and dried clear, BUT they both left undesirable stains after the same battery of tests.)
 |
MyLifeIsAStitch.blogspot.com
Lucy Boston, Patchwork of the Crosses |
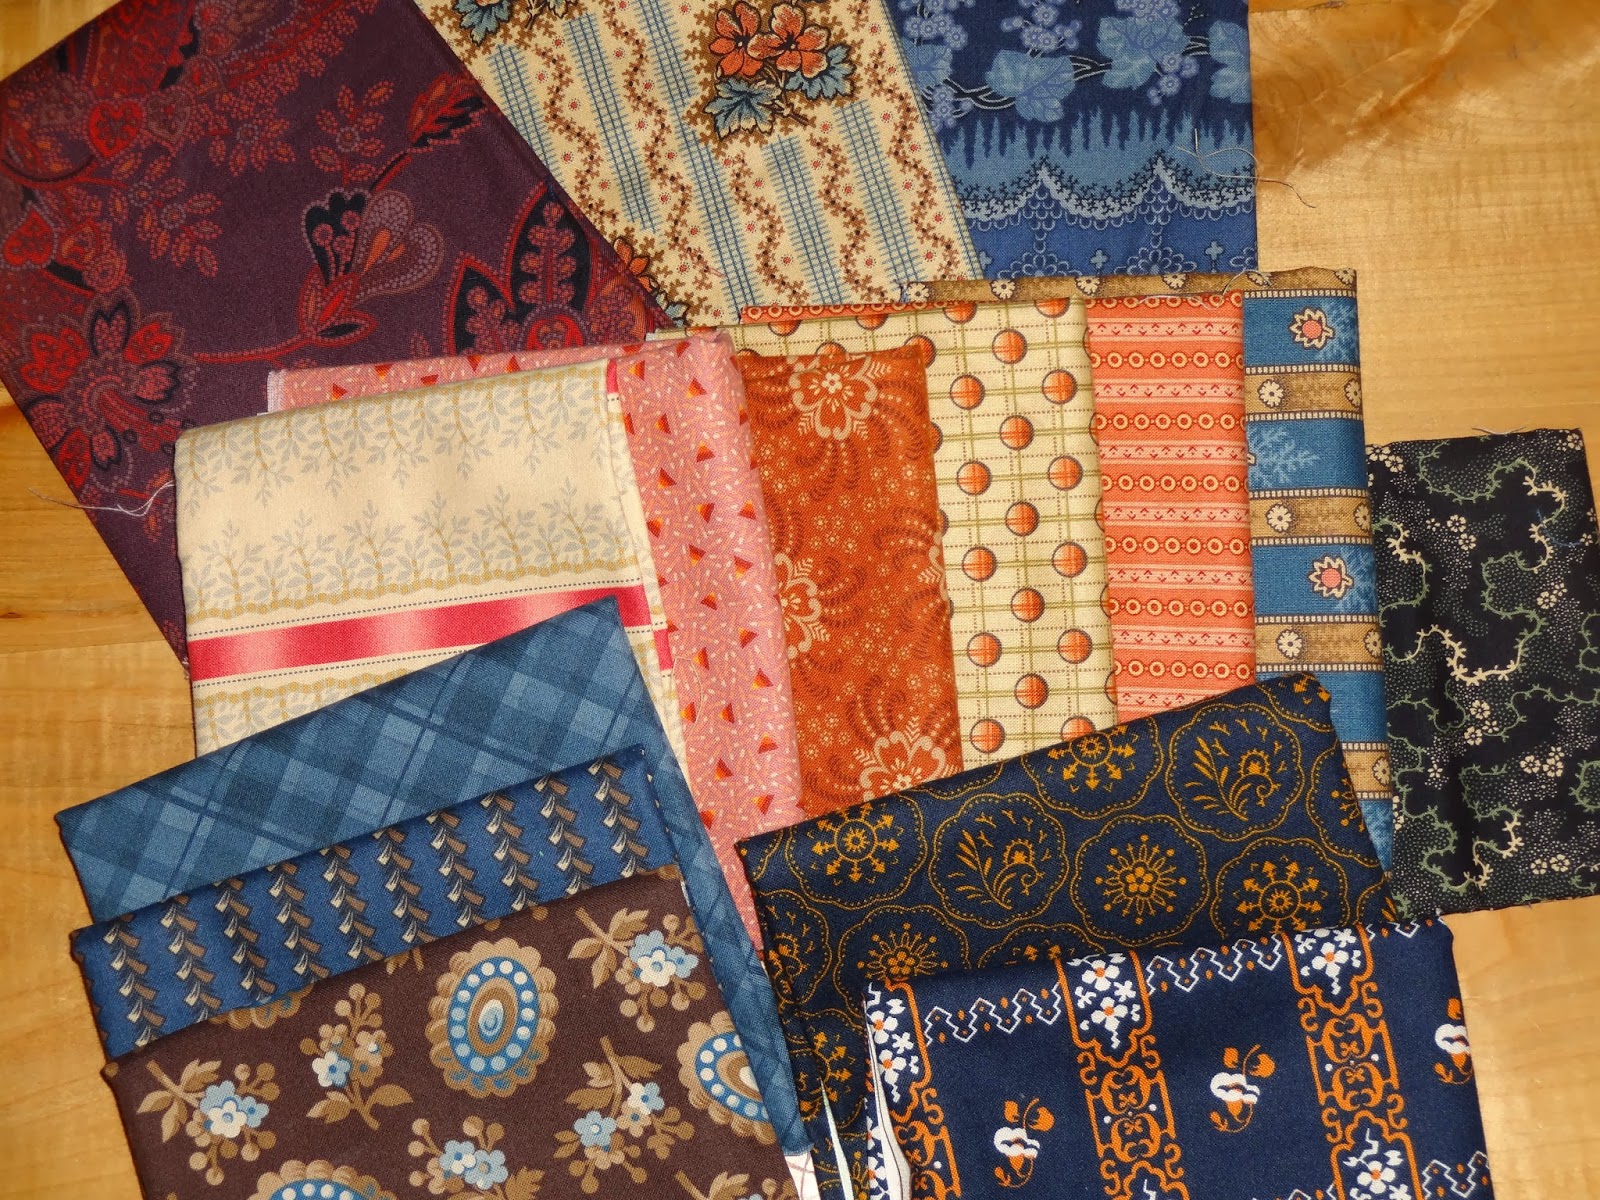
- Fabrics
- I used my reproduction stash a lot, but because I was also leading a group at a local
quilt shop, I made 'sets' or 'kits' - each of three or four coordinating fat quarters OR 6 -six inch
cuts, so a yard of fabric for each kit. Each kit could potentially make
3 or 4 blocks, depending on how much fussy-cutting you can do in each
chosen fabric. Within each set there was one 'strong' fabric - a stripe or swirl or large print (I have a couple of blocks that are only one fabric, and a few that are only two fabrics).
 |
MyLifeIsAStitch.blogspot.com
Lucy Boston, Patchwork of the Crosses |
- Book - Lucy Boston: Patchwork Of The Crosses by Linda Franz - this is not a pattern, but is nice to have because it shows the different methods to accomplish paper-piecing, AND has a whole page of shaded layouts for the different type of crosses that Lucy made. It also has fabric requirements for not just the blocks, but the 'connecting squares' and the 'borders'
The start of the addiction!!:
Each block is 24 honeycomb pieces and 24 honeycomb border pieces.
(*WARNING! Don't wait until the end to border your blocks!!!
more on that later)
Using the English Paper Piecing method,
I chose to baste only the fabric,
not through the papers, too.
I found this much easier, with minimal hand fatigue,
and choosing those neutral threads, I knew that I wouldn't have to remove the basting threads later.
Remember, don't use the super-woman grip while stitching!! Just hold lightly and enjoy the process!
(if you do like and are used to stitching through the paper, I recommend that you try at least one Lucy block NOT stitching through the paper to see the difference it makes on your hand fatigue. It does take a while to get used to holding and stitching the pieces differently!)
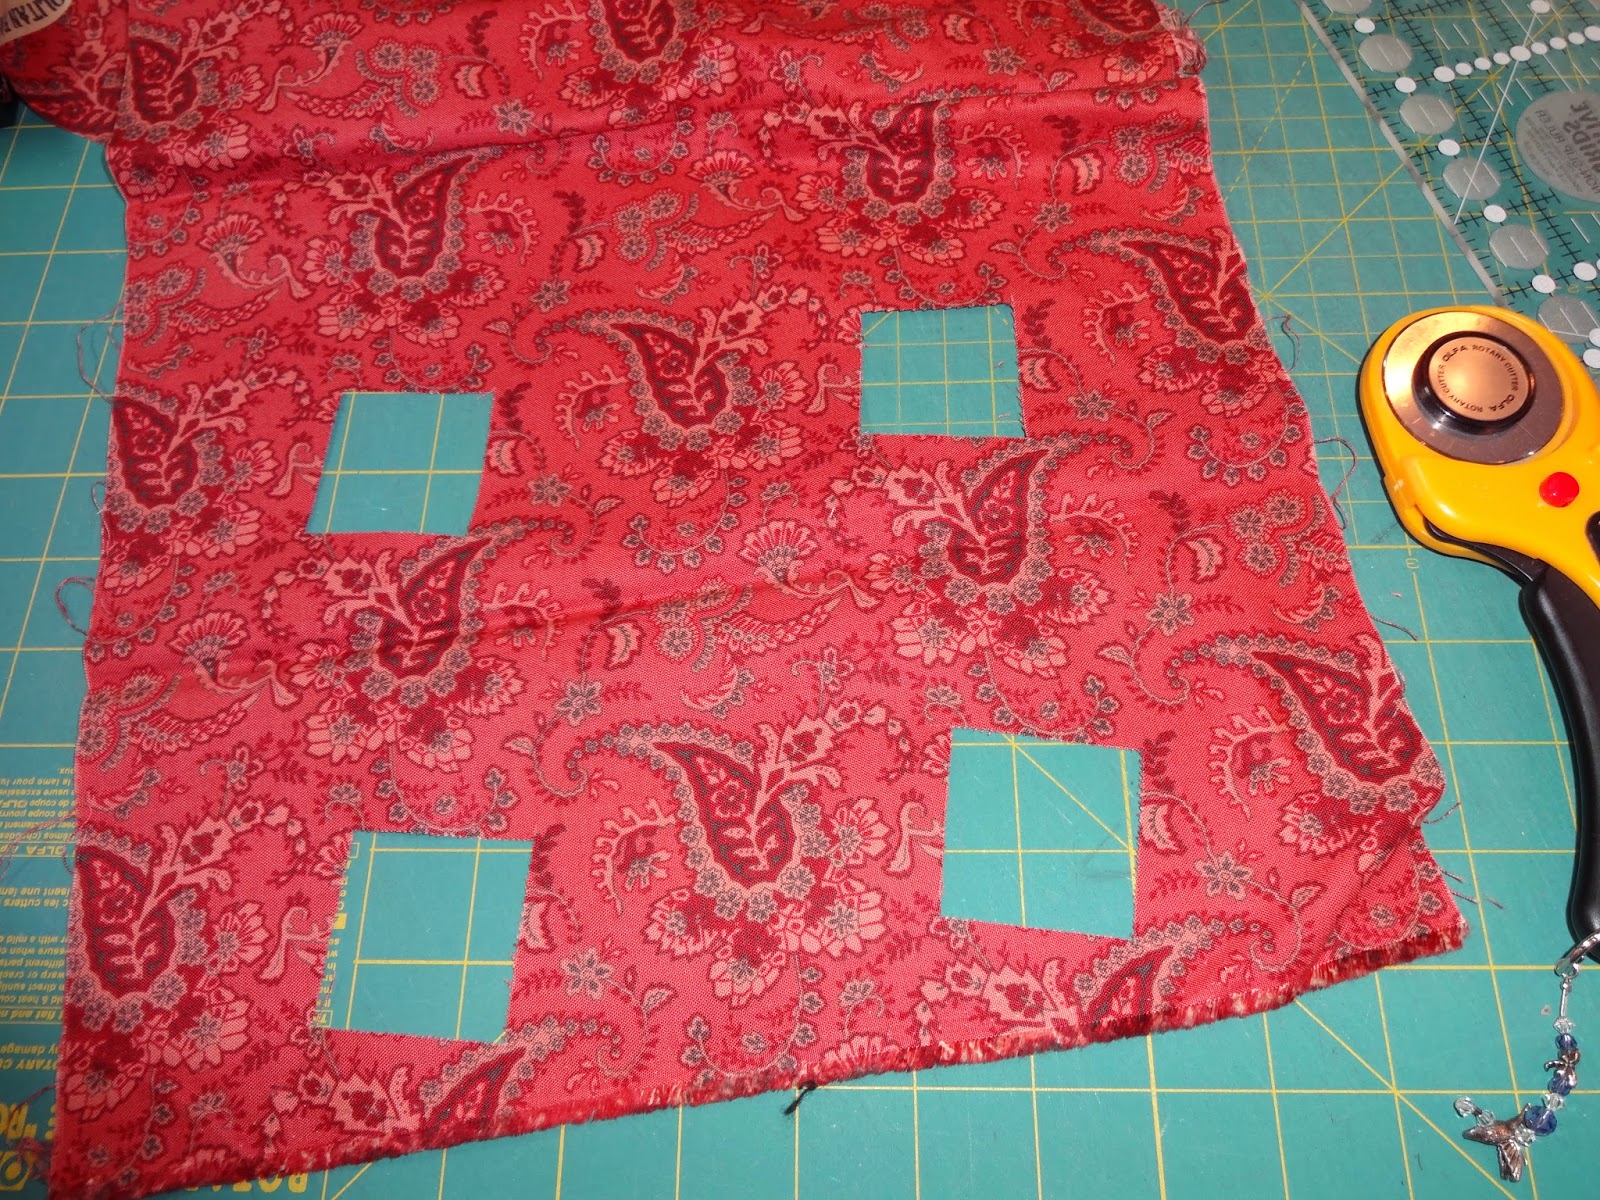
Cutting Fabrics:
Don't forget that stripes or patterns in fabrics don't always have to go the same direction across the paper/piece.
Mirror image some of the prints, use the corners of the papers to align dark markings on some pieces to create movement within the block:
 |
MyLifeIsAStitch.blogspot.com
Lucy Boston, Patchwork of the Crosses |
Layout:
Tracing around one of the paper pieces, I drew out a layout template to use in my Go&Sew travel bag.
 |
MyLifeIsAStitch.blogspot.com
Lucy Boston, Patchwork of the Crosses |
I drew one, photocopied it, and dropped two copies (back to back) into a photo sleeve.
As I chose and stitched each honeycomb shape, I used double-stick tape to place and hold each piece until I had time to stitch the pieces together.
Here's a photo of a well-used Layout Template:
 |
MyLifeIsAStitch.blogspot.com
Lucy Boston, Patchwork of the Crosses |
Basting with thread (or glue-basting):
My thought is that the integrity of each block is the hand-stitched seam, so I chose a heavier thread - the YLI quilting thread. This thread is lightly waxed, so it doesn't twist or knot much as you stitch.
- I use a small applique pin to hold the fabric in place on the paper piece while single-thread-basting. I back-stitched at each corner, ending where I began the basting. (Glue method - use a small dab of glue on the paper to center your paper on the fabric
Connecting the finished honeycomb pieces:
- After basting each honeycomb, I knotted on the back and then ran my needle/thread under the seam allowance and out of one of the corners. I continued with that single thread and stitched that honeycomb piece into my block at that time. This takes a little pre-planning on where to start and end the basting, but soon becomes automatic. AND, you are not changing threads!!!
- I place right sides together, knot that starting corner, whip-stitched across that inch-long side, and then I knot at that corner, too - so on every inch-side there are about 14 to 16 stitches and a knot at each corner. Fold the assembled block as needed to align the honeycomb to the next side to stitch. Stitch the next side, knot, repeat the third/forth time as needed.
- Glue method: place a fine line of glue on one side of the paperpiece and fold the fabric over LOOSELY, pressing onto the glue. Turn clockwise and repeat around the paperpiece.
- Finally, at the end of stitching and after knotting the final corner, I made a secondary knot, placed into the back of each piece. This moved the thread 'tail' away from the seam allowance and corner AND gave me assurance that my knot wouldn't 'pop' later. Also, I figured that I saved a little time by not cutting the thread and re-knotting in between each piece over the course of the quilt.
Well, that is a whole lot of info for PART ONE - sorry!
Hopefully, it explains my attack on Lucy...
***And the *WARNING! Don't wait until the end to border your blocks?
More on that in the Part Two!
PART TWO will cover 2014- Connecting my Lucy pieces and making Blocks
ps - if you'd like my LB Layout Template - just leave me a comment/request with your email address.
Thanks for stopping by, and
Happy Stitching!!


.heic)


