Lucy Boston

Showing posts with label Lori of Humble Quilts. Show all posts

Wednesday, February 28, 2018

Sweet land of liberty #2

February is a short month, I know, 
but it seemed to me to fly by.
I did seem to accomplish quite a bit in 28 days though!!
I made 66 churn dash blocks for a swap.
I did a couple of Dear Jane blocks to send to a friend who's under the weather.
I'm working on a small quilt for a swap.
AND...
I have my second month of blocks done for the
Sweet Land of Liberty sew-along 
(LINK to see all the fun:  hosted by Lori of Humble Quilts):
Looking at this picture, 
I think I'll add some stitched eyes now 
instead of buttons later, though.
It's fun to be back working on this one again after a long vacation from it.

Oh, and I had a birthday this month!
I get to be 59!!!! 
A friend made me a decadent cake
It's now one candle per decade they said, 
and they rounded up to 60 for me 😊

and Sweetie and friends took me out for a pizza party!
I'm thankful for another birthday to celebrate, wonderful family, and special friends and celebrations of any kind.

Happy Stitching everyone!
Hope your February was sweet and
you had some time to spend with your stitching 
or whatever trouble fun you like to participate in.

Tuesday, January 23, 2018

stitching away play

I mentioned last week about my 
quilting friends' group challenge
to use up stash.....
I'm just here to say that fabric diets are difficult 😁
But I don't "owe" any fresh pretzels - yet.

I have been playing,
stitching away on some projects in progress,
and it feels good to play with my 'toys' I haven't had out for a while.

In this stitching vein/thread,
I've joined Lori, of Humble Quilts blog,
and a great group of like-minded folks,
to stitch on the quilt -
Sweet Land of Liberty,
an old Cheri Payne design (now out of print).
It made total sense to me, as I'd worked on this great primitive quilt before.
Like nine years ago, before.
Ooops, where does time go when you're having fun?
And I still love it, so I'm not counting how long it's been resting, 
and am declaring it part of my 
Get it Finished This Year challenge.... aka GIFTY.

So, for month one of the Humble Quilts Sew Along,
here are the first blocks I've done...
(link to the group challenge to be added later this week)
I already had the big applique blocks done, but had to add all the embroidery... AND, I made the Economy Blocks, plus a few extra, which I have not trimmed down as of yet, (because I know how some of these Cheri patterns sometimes need a coping strip added occasionally 😀).

I'm off to go do some more stitching, 
(and not purchase any new fabric)!
Hope you are enjoying your day, too!

Wednesday, May 3, 2017

little swap quilt recieved!!!!

I'd shared previously that I was again participating
in a little quilt swap, hosted by Lori, of Humble Quilts blog...

Well, guess what I received??
A little quilt from the hostess herself!!
How lucky can a gal get?!?
 Sticks and Stones!!!

It was hand and machine quilted, 
and has the most wonderful little binding!
Thank you Lori, for your wonderful work of art!
I love, love, love all the fabrics, and the pattern, and all the
effort you not only put into it, but also everything you've done to host all the swaps!!!
It's so wonderful to find more quilty friends around the world! 💖

You can visit the link up party to view all the swapped quilts here:
Humble Quilts Swap

Monday, May 1, 2017

Little quilt swap

Again this year I joined in on the fun
of a little quilt swap with Lori, of Humble Quilts blog.
Since I'd been working on my 42-Cents Forever Stamp quilt, 
(and I just happened to have a few leftover stamps)
I decided to use them in my little quilt for the swap.
I made it in March, bound it in April, then carried it along with me to a retreat in Indiana, to mail from there, so it got to do some extra traveling!!

I was given a gals' name that seemed not to have a blog or facebook presence, but just in case she did, I didn't share here what I'd made, until I knew she'd received it.

Saturday, June 11, 2016

fun with scrap fabric

Well, I did it...
joined in another Sew Along!

I have SOOOOOO many quilt projects that I've already started.
And twice that many more that I'd like to get to Someday.
But, when I saw all the fun that my quilter friends were getting into
with the Gwennie Inspired Medallion QAL
I dropped ahem, maybe a few things,
and joined right in! lol

On June 6th, I saw that Lori (Humble Quilts blog) 
posted a link-y page for everyone that had wanted to join 
in the Gwen Marston Inspired Sew Along.
The link-y page is to share the Basket Blocks that had been made.
At that time there were only 5 or 6 people that had a finished block for their quilt center.
I visited each of those blogger's posts and kept thinking I Don't Need Another Project.
I DON'T Need Another Project!
Famous last words... 
The next day - the 7th, I grabbed scraps and
join in for the fun!!!

Scissors, scraps, applique pins, needle and thread, and four days later I have THIS:
I scissor cut everything freehand.  Needle-turned the applique, and perfectly imperfect!
I love it!!! It is Gwennie inspired! 

Like others that have joined in on this, I've known of Gwen from magazine articles that she contributed to Lady's Circle Patchwork (1980's I believe); also from her great quilt books and quilt pictures, but I'd never met her in person.  Since she's been such an inspiration to my quilting life, and I've also been inspired by Lori, Cynthia, Cathy, Katy, and Wendy - the gals that came up with this GREAT Sew Along, I decided, I guess I DO NEED to start another project...
Then I saw this picture on Wendy's blog:
Clinched it!  It's Totally me!!!

The next 'round' for the medallion basket is 'Childhood Memories', chosen by Cynthia!
More fun to share the beginning of July!

Sunday, May 1, 2016

The little doll quilt I received in the Swap

I LOVE participating in doll quilt swaps!!!

When I read that Lori of Humble Quilts blog 
decided to host her THIRD swap this past middle of March,
I immediately signed myself up!!
Just a few simple rules: 
finished little quilts to be in the mail by May 1st, 
reproduction fabrics from the 1775-1910 time period,
and under 24 inches.   
Within the week (I believe) there were NINETY participants signed up!!
So exciting!!!

On April 8th, I received an email from Lori, the swap host,
asking if I'd received my little quilt in the mail.
And I hadn't... but thought it was nice that she was checking.

Just the next day, the 9th - a package was here!!!
And my little quilt was from Lori, herself!!!!
It. Is. Just. Adorable!!! 
I absolutely love EVERYTHING about it!!! - fabrics, colors, workmanship. 
It was even hand quilted, and it still arrived way before the deadline!!! 
(: can you tell that the hand-quilting-part-but-early-arrival impressed me? :)
What an awesome little quilt from the swap!!!
Thank you, thank you, Lori!!!  
(Humble Quilts blog)
It's going on my vintage treadle machine next to my stitching chair!!
(ps - I'd even seen a picture of my little quilt on Lori's blog before she sent it, but didn't connect it with her call asking if I'd received my quilt in the mail. )

The little quilt that I sent, went off to the state
of Washington, and should arrive tomorrow, Monday.

I'm so glad I was able to participate again this year!!!
Making new quilty-friends across the miles!!  

Tuesday, June 16, 2015

A great party link! Doll-quilt swap party that is

As promised, here's the link to the Doll Quilt Swap
that Lori (Humble Quilts) hosted last month:
DOLL QUILT SWAP PARTY .


It was such fun to participate!
I think that the only requirements in this swap were that
each quilt had to be under 24 inches square and be made entirely of
Civil War era reproduction fabrics.
Oh, and to be mailed by the beginning of June.

Last time I checked there were over 40 different little quilts/links,

each with the swap quilt pictured as the link.
Sooo much inspiration from quilters
from around the whole world!
If you have a few minutes (: or even an hour :) to go blog visiting,
it will be worth your time, promise!

This is the little quilt I sent off to JoAnne in Indiana:
Four-patch scraps, 17 inches square. With a  vintage salt-cellar pin cushion I made.
 and what I received from Jill:
Hope you have a wonderful Tuesday!!

Thursday, June 4, 2015

Announcing:

arrival of the doll quilt from the swap!
Jill, from Pennsylvania, 
made the little quilt for me and I'm in love with it!
Thank you, thank you, thank you Jill!!!!
Isn't it adorable?!?
The amount of fabrics Jill used in this little quilt is astounding - 
truly like a vintage doll quilt, 
made for a little girly from the family's clothing scraps.

With our yucky weather again today,
it was hard to get a good picture of the true colors, 
but the setting squares fabric is a salmon-y pink, 
and the outside, half-triangles are a deep, chocolate brown;
the four patches are made with shirtings and fabrics of every design:   
there are keys, itsy-bitsy flowers, pins, tacks, berries, baskets, hearts, sprigs, stems, dots, and flourishes.  Also circles, squares, diamonds, stars, horseshoes and jockeys.  There are even roosters with little tossed feathers!  
(In her note, Jill said she doesn't know why, but she always puts a piece of fabric with a chicken in each quilt she makes - isn't that great?)  

The backing fabric she used
 
is a beautiful vintage-looking, golden stripe with salmon flowers.
 And to top off all of that?  It's hand quilted with what looks to be a variegated pink thread (you may be able to see the excellent hand-quilting if you enlarge the photo).

Just beautiful.  I already have it on my old Singer sewing machine used as a stand, that sits beside my stitching chair, and it's perfect there - like it was made specifically for that space.


Jill packaged the little quilt in a fat quarter of beautiful green fabric, tied with a flourish-printed selvedge, and in the package was a sweet card, a PA-made chocolate bar 
(: of which I've already eaten at least half :) 
and a little 2 1/2 inch charm pack of Jelly Bean - 
a fabric line by Laundry Basket Quilts. 

I am so thankful to Jill for all of her time and love she put into making this quilt, and for all of the extras she stuffed into the envelope to send to me.

It was another wonderful 'swap' to participate in and I thank Lori (of Humble Quilts ) for hosting again!  I think there will be a link-y party on Lori's blog soon, to let all 70 people who participated share their little quilts from the swap.  I'll share it when it's available.

Happy Thursday, and thanks for visiting!

Tuesday, June 2, 2015

the little quilt I sent for doll quilt swap #2

I admit,
I was a day late in sending my little doll quilt for the swap.
I finished it late evening on the last day of May -
the day it was to be in the mail.
It was cold and rainy and cloudy all day on the first of June
and I needed to get a picture of it before it left to go to it's new home.
So, between showers, I ran outside to try to get a picture of it.
A picture with a little more lighting than inside the house was offering.
After shooting about 25 pics, this is the best I could come up with:
 I do have a couple of close-up shots to share after it's received by my swap partner.

The swap was hosted by Lori of Humble Quilts blog.  It was so much fun to participate again.  My thanks to Lori for all of her work.

Thursday, May 28, 2015

making memories

For the last nine days,
I've not been doing much of this:
Or much of anything else, for that matter.
I apologize if you are my Swap Partner 
in Lori's Humble Quilts doll quilt swap, 
I promise, it's coming.  Soon.

I HAVE been doing a whole lot of this:
one year old orneriness
and this:
three year old orneriness
We've had help doing this
opening the pool
and this:
making strawberry-rhubarb pie
planting tomatoes in the backdoor garden bed
 And I'd forgotten about the middle-of-the-night awake times.

I now know why the good Lord gives babies to the younger folks. lol
I'm not complaining, it's been fun making memories.
But I think I need a nap.  Then another one.
And I just may be counting down the remaining two nights. 

Sweet rewards?
When the three year old randomly says unprompted things like:
"It's SO fun to have sleep overs."

Happy Thursday!
Here's hoping you are have as much fun as I am. :)

Thursday, March 5, 2015

Ready or not... FLAGS (UFQ)!!

Here it is!!!!
It's time to share the 
Flags of the American Revolution finish...
Keyword?  Finish. 
(insert my maniacal laughing here.)  
I admit, I'm not ready to share
because it's not a finish,
as I have an UFQ (UnFinished Quilt)!!
This sew-along was with Lori of Humble Quilts 
(click here to see others' great work)  
and it's always motivating to me 
to sew along with others doing the same project
(thank you, Lori).

My center medallion - all quilted!

Yet, whenever I sign up for a sew-along,
I always think to myself - 
"Sew-along?', 

OR, more realistically,
'start a quilt to add to the UNFINISHED quilt stack?' 
(: again - laughing hysterically here :)

My chosen method of doing this quilt
was to attack it in the Civil War finishing method 
of Hot Pad (or Pot Holder) blocks.
[The Hot Pad method (more pictures & info here) is where each block is completely finished individually, then whip-stitched together to create a quilt.  I used the knife-edged method for each flag, choosing a backing for each block - layering right-sides together with batting, sewing around the outside seam, leaving a turning hole, then turning, pressing, closing the opening and quilting.]
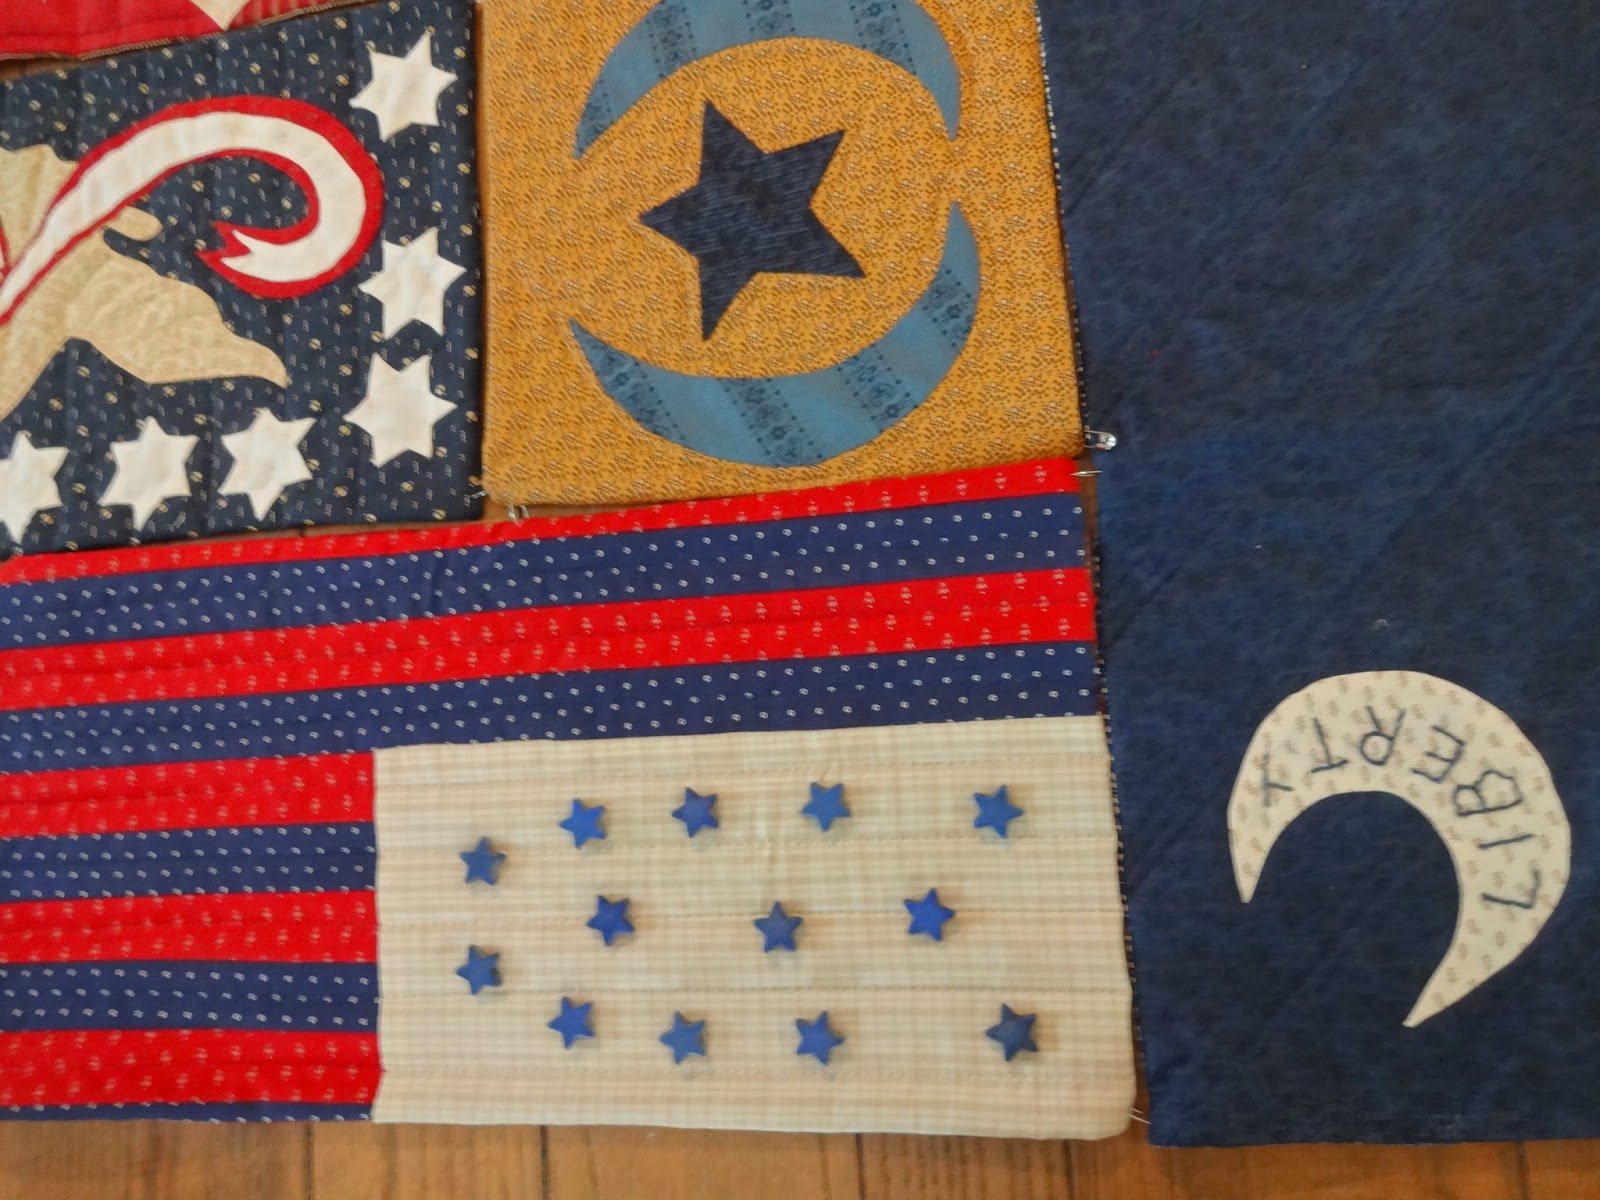
Flags of the American Revolution - blocks quilted and pinned together
Blocks pieced and appliqued?     Check.
Blocks quilted? 
Check.  Well, except for my signature block (bottom right corner, above).
Blocks pinned together, ready for whip-stitching?  
Again, check - except for the not yet quilted siggy block.
Do I love it??  
Check, Check, Check!!

I just need another month,
not another partially finished quilt!  lol 
But I suppose I am further ahead than some folks in this sew along, 
as I don't just have a quilt top,
but a bunch of quilted hot pad blocks.  
Any way you look at it, 
it's another UnFinished Quilt for the stack. lol

Here is the back of my quilt, showing the fabrics I chose for each block back:
Block backs, pinned together, awaiting whip-stitching.
And the eagle medallion with a corner of the block's back fabric showing:
A few more pictures:
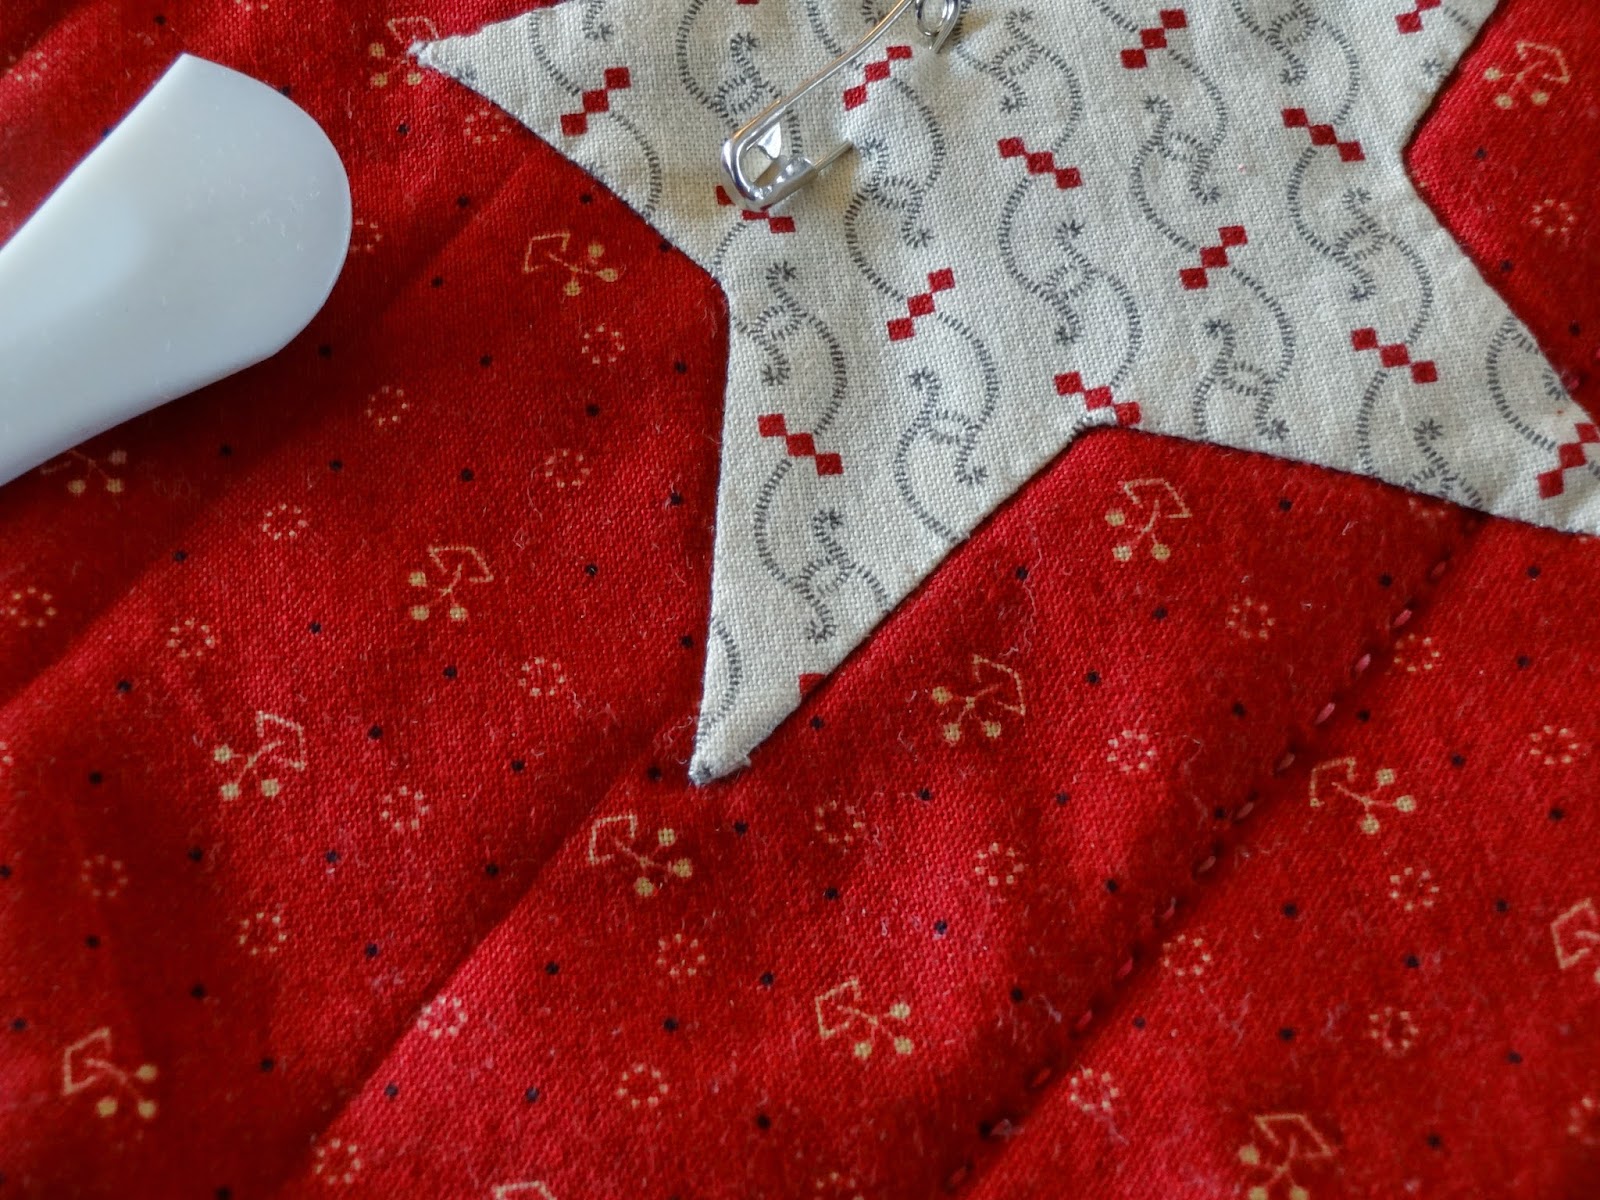
Marking quilting lines with my Hera marker.
Close-up of quilting- bottom, right corner; and marked lines- top, left corner.
Quilting on eagle medallion.
Quilted star and star buttons.
Another close-up of quilting.
I finally found blue star beads for this flag.
More quilting close-ups.
After I get all the blocks whip-stitched together, I think I will add a border and binding...give me another few months for that! :)

So, though it's not completely finished (and I have another UFQ), 
I do love it, and it was a fun to work along with others from around the world
doing the same quilt at the same time!

Please, if you have a few minutes, do go visit the others who did this quilt.  There is some great talent to see out in the quilting world.

Thanks for visiting, and if you have questions about my Hot Pad finishing method, please leave me a comment and I'll try to explain further.
Happy Stitching!

Sunday, February 8, 2015

Flags of the American Revolution part 6

I am completely out of order on my flag blocks for this Sew Along!

I had already stitched the flag with the blue ground/13 appliqued stars, that I think was really 'due' this month...
Because it was already done, 
I went ahead and stitched this block this month:
(it is 'assigned' for next month, so I'm ahead again! :)
 
I laid out my blocks:
I'm still auditioning colors: the center medallion is laid in, unfinished, 
as I've not chosen reds for those corners.  
The block directly below that 
with the chunk of red fabric on the cream, unpressed fabric -
that's the missed block from months ago.
So besides my 'signature' block, I found that I still need to make 
a striped flag with blue ground and circle of stars 
(that gets placed toward the bottom, center).  
That means I'm behind again... :)

Because I'd decided to individually finish and quilt each block
in the Hot Pad* or Pot Holder* method,
I've been working towards that quilt-the-blocks-goal,
so here are a few pictures of my blocks in quilt-y progress:
Knife-edge finished blocks pinned together awaiting whip-stitching.
Did you notice the safety pins in the above four pictures, 
holding the block corners to the other blocks?
That's how I pin to position the finished blocks- 
so they are ready to pick up and whip-stitch together
whenever I have a little stitching time.


* Hot Pad/Pot Holder quilt method:  if you'd like more info on this method,
I've shared previously and you can read about it HERE, and HERE.

I'm linking with Lori, of Humble Quilts; 
she has pictures/links to other participants in the sew-along if you'd like to see their progress, too.

Thanks for visiting, and Happy Winter Stitching!

Monday, January 19, 2015

flags & a tutorial for Hot Pad blocks - knife-edged method

Flags of the American Revolution Sew-Along... 
This Sew-Along (with Lori of Humble Quilts)
is a pattern by Jan Patek,
and if you don't know, a Jan pattern is kind of primitive...
the seams don't have to match,
points can be cut off, and
fabrics can be mismatched, using whatever you have on hand. 
So if there's some applique that's not turned under smoothly
or a point is not pointy, it just adds to the primitive charm.
No worries. 

With that primitive charm look/style in mind,
I've started quilting my blocks individually,
deciding to use the 'primitive' Hot Pad method to finish this quilt.

In this instance, 
I'm using the knife-edged block, without individual block bindings:
Quilted block on the left, stack of blocks on the right still to do.
For those who asked me previously 
about the knife-edged Hot Pad method of finishing blocks,
here are pictures of my block progression:
#1 - Cut your batting the same size as your finished block.
#2 - Cut your backing fabric at least an inch larger than your finished block size.
 #3 - Layer backing right side up, 
centering the quilt block right side down, 
with batting squarely on top.
#4 - Pin well so the layers won't shift as you sew around your block, above... Note the double pins at the bottom, designating the no-sew area for turning the block through to right side out.
#5 - Stitch with your usual 1/4 inch seam allowance, leaving a generous opening to turn the completed block right side out.  (Don't allow your batting to stretch while stitching!!)
#6 - Above, trim corners of all layers after stitching.
#7 - Before turning the block right side out, 
check the raw edges around your block to make sure you've caught all layers.
 (You want to see your backing and the quilt block
  that are right sides together, with your batting on the top of that.)
#8 - Block is turned right side out, using the Hera Marker to push the block out to seams and corners out squarely.
#9 - This picture shows a block BACK.
Press the block well, then turn in seam allowances 
at the opening left from turning block right-side-out;
#10 Hand whip-stitch closed with matching thread (not shown).

#11 - Block has 'scored' indentations from 
Hera Marker for possible quilting lines, 
and then is pin-basted in preparation for quilting.
#12 - Block on the left is quilted.
The stack of blocks on the right are marked and ready to pin-baste for quilting.
At this point, all the completely finished blocks are ready to layout in their quilt position and to be whip-stitched together!
(The original quilt has borders and binding, and I think I will add those also, but will wait to see as it all comes together.)

Let me know if you have questions after reading this little tutorial.  It makes sense to me, but I/we already know that everyone processes info differently, so my way works for me but may not be easy for you to understand. :)

Back to some stitching for me.
Happy Stitching to you also!